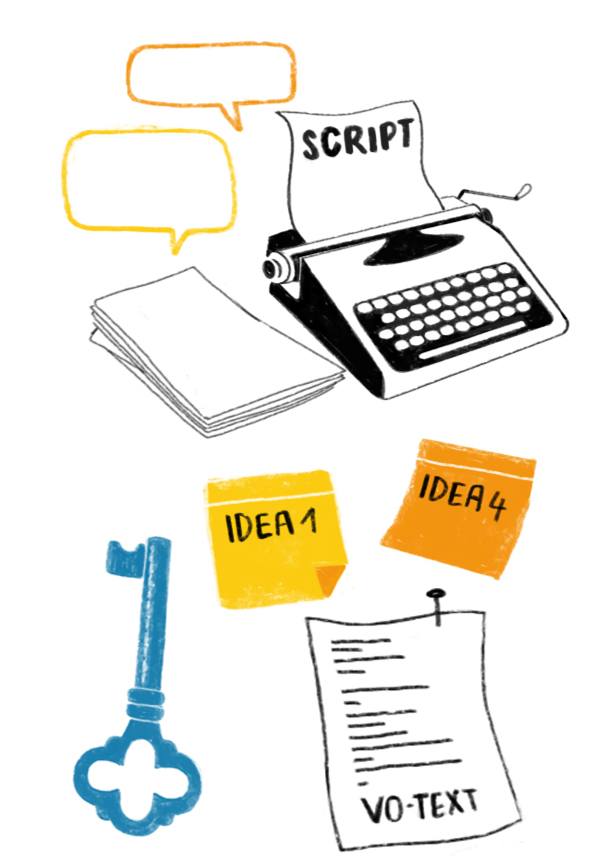
Step 2: The script is key
Once you have developed a coherent concept for the explainer video, a detailed script is written. This includes the sequence of events in the story, all the characters, the dialogue and a description of the setting and important visual elements. A well-written script is the key to success. It is the foundation on which everything else is built. In addition to the narrative style and the way the audience is addressed, it defines the cinematic rhythm and the length of the explainer video. It is important to tell the story step by step, scene by scene. Experience has shown that several rounds of revisions are necessary to present the content clearly and logically.
Focus
During script development, many ideas are often generated, tested and evaluated before the most suitable ones find their way into the narrative. In this process, it may be necessary to drop even cherished ideas (‘kill your darlings’) if they interfere with the narrative flow. Focus on which idea best advances the film and effectively conveys the message.
Narrator version
If you want to tell the story on an audio level via a narrator, you need a shorter, snappy version that only contains the narration text. This voice-over text should be clear, precise and easy to understand. Simple, short sentences help here. In the best case scenario, the finished script is already the voice-over text that is then recorded. Don’t be afraid to make cuts. The great thing about an explanatory film is that some things can be told through images alone.